
Million Dollar Chicken Casserole
Introduction
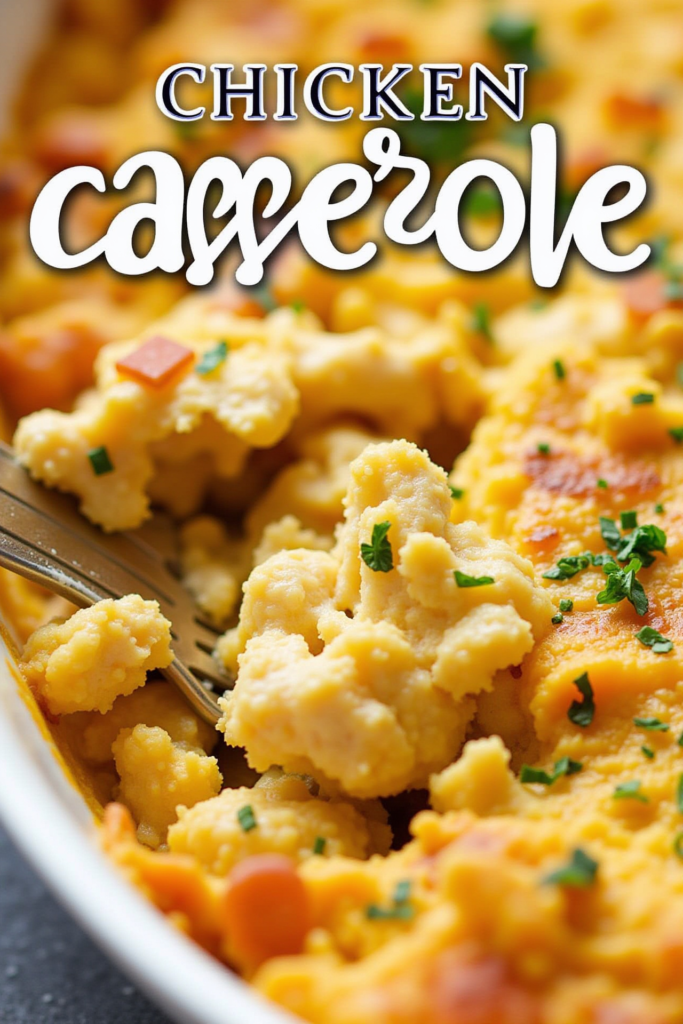
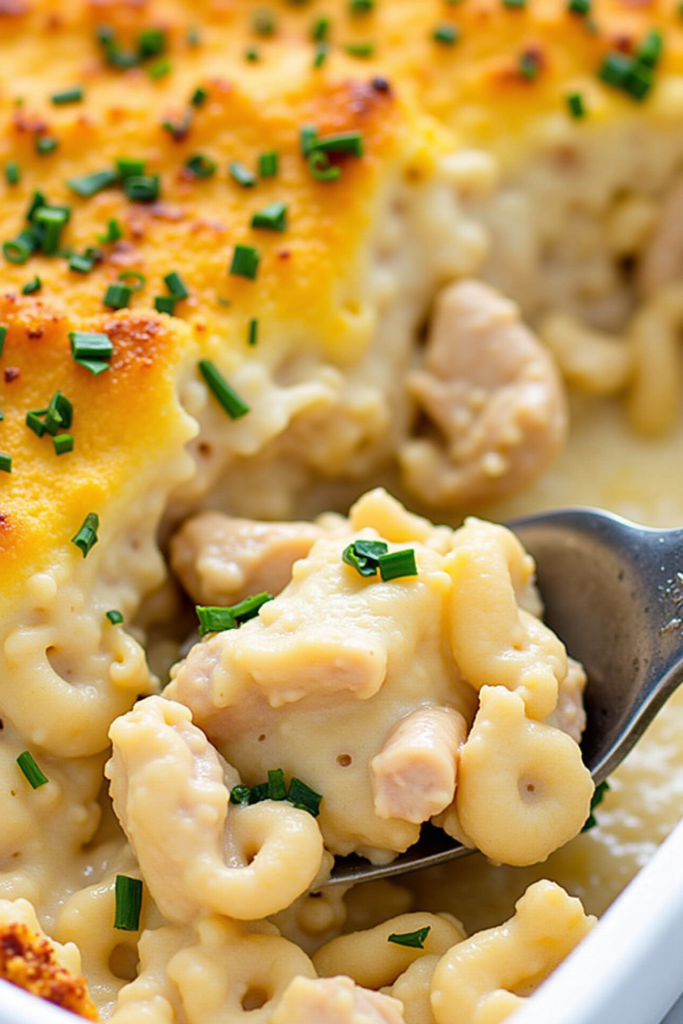
Few comfort foods can compete with the creamy, cheesy, and irresistibly savory flavor of Million Dollar Chicken Casserole. This standout dish combines juicy chicken with a luxuriously rich cheese and sour cream mixture, all baked under a golden, buttery cracker topping. It’s the ultimate solution for busy weeknights, family gatherings, or feeding a crowd—deliciously simple yet sure to impress everyone at the table.
Why Million Dollar Chicken Casserole Is a Winner
What sets this casserole apart is its decadent, restaurant-quality flavor achieved with everyday pantry staples. There’s no need for complicated steps—just layer, mix, and bake! The creamy interior and crunchy topping make it an instant favorite for kids and adults alike, and leftovers (if you have any!) taste even better the next day.
Making the Creamy Chicken Base
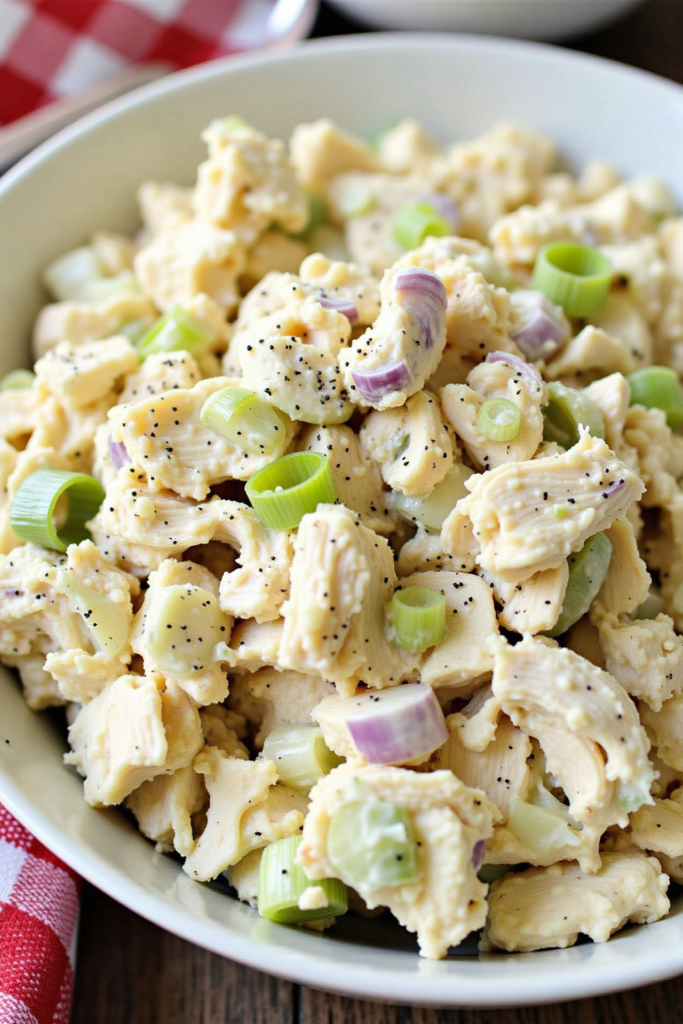
Start with cooked, shredded or diced chicken breast or rotisserie chicken for ease. The secret to this casserole’s rich texture is a blend of cream cheese, sour cream, and condensed cream of chicken soup—creating a smooth, velvety sauce that coats every bite. For flavor depth, a sprinkle of garlic powder, onion powder, and a dash of mixed Italian herbs round out the base perfectly.
How to Assemble and Bake
Once your creamy chicken mixture is ready, all you need to do is spread it into a casserole dish and top with your favorite buttery crackers, crushed and tossed with melted butter. Bake until bubbly and golden brown. It’s a fuss-free process that rewards you with layers of creamy, cheesy goodness crowned by a crisp, flavorful topping.
Serving Suggestions for Million Dollar Chicken Casserole
Serve this casserole piping hot with a simple side salad or steamed green vegetables for a balanced meal. It also pairs well with fluffy rice, mashed potatoes, or crusty artisan bread to soak up every last bit of sauce. For a bit of color and freshness, garnish with freshly chopped parsley or green onions before serving.
Nutritional Information and Serving Size
This recipe yields about 6 generous servings. Each serving packs in rich protein, moderate carbs, and a satisfying hit of creamy fats—perfect for an indulgent comfort meal. Estimated calories per serving range from 425–500, depending on cheese and topping choices.
Why This Is a Must-Make Casserole (Recap)
Million Dollar Chicken Casserole is beloved for its creamy, savory sauce and crunchy, buttery crust. Perfect for prepping ahead, feeding a crowd, or transforming weeknight dinner into something special, it’s a crowd-pleasing classic every home cook should try.
Ingredients
💡Meal Planning Tip: Save this recipe to automatically generate an organized shopping list with all ingredients sorted by store section—perfect for efficient grocery trips and meal planning.

Instructions
- Preheat your oven to 350°F (175°C). Lightly grease a 9×13-inch casserole dish or similar baking dish.
- In a large bowl, stir together the cream cheese (softened), sour cream, and condensed cream of chicken soup until smooth and thoroughly combined.
- Add the cooked chicken, shredded cheese, garlic powder, onion powder, Italian seasoning (if using), and salt and pepper to taste. Mix until everything is coated in the creamy mixture.
- Spread the chicken mixture evenly into the prepared casserole dish.
- In a small bowl, mix the crushed crackers with the melted butter until well coated. Sprinkle evenly over the chicken mixture as the topping.
- Bake uncovered for 30–35 minutes until the casserole is bubbling and the topping is golden brown.
- Let cool for 5–10 minutes. Garnish with parsley or green onions, if desired, and serve hot.
Weekly Meal Planning
Million Dollar Chicken Casserole is perfect for making ahead and enjoying throughout the week. Save and schedule this recipe in your meal plan to generate a smart shopping list and organize your weeknight dinners seamlessly.
Planning Benefits:
- Automatically calculates total ingredient quantities if making double batches or planning multiple meals
- Organizes shopping lists by store sections for speedy grocery runs
- Avoids duplicate purchases and forgotten ingredients
- Keeps all your planned recipes and prep steps organized in one handy spot
Pro Tip: Schedule this casserole along with other favorites this week. Plan your meals so the ingredient list combines quantities (e.g., only one trip for all the chicken or cheese you’ll need), cutting down on both cost and food waste.
Cook and Prep Times
Prep Time: 15 minutes
Cook Time: 35 minutes
Total Time: 50 minutes